
Installation
Supply wires
We provide two crimp terminals for the positive (red) and negative (black) wires. We recommend connecting the red wire directly to the battery, or through a relay rated for at least 20A. Connect the black wire to a solid chassis ground point*. The positive line features an inline blade fuse (10A or 15A, depending on the number of amplifiers). If the fuse ever blows, always replace it with one of the exact same rating.
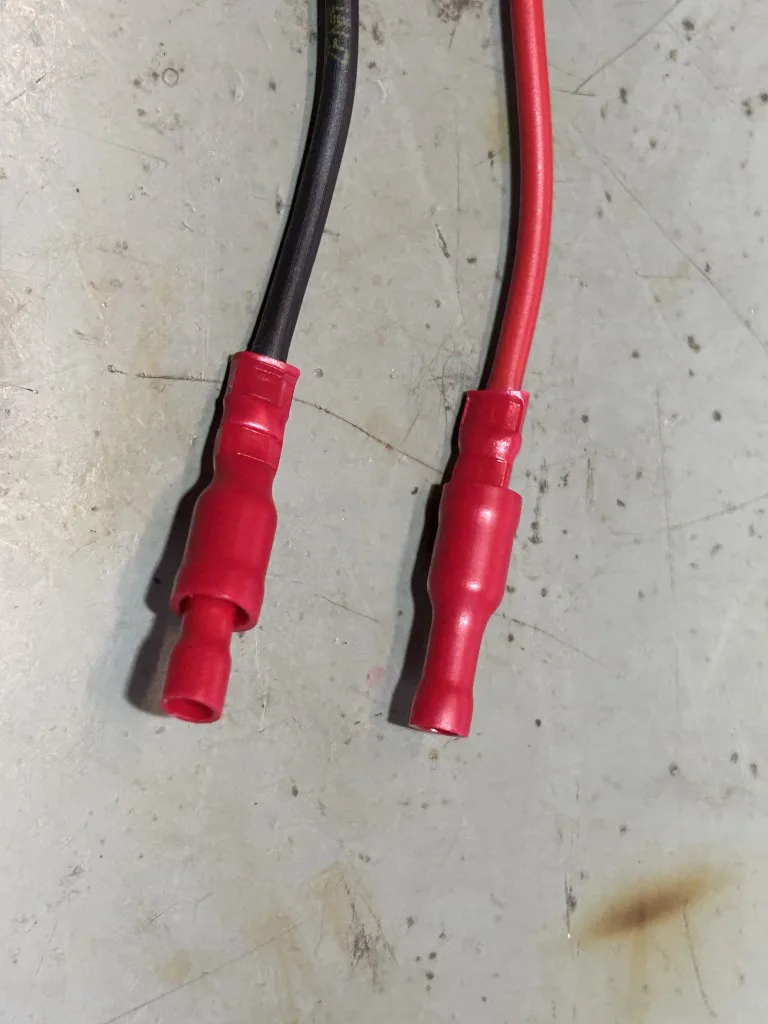
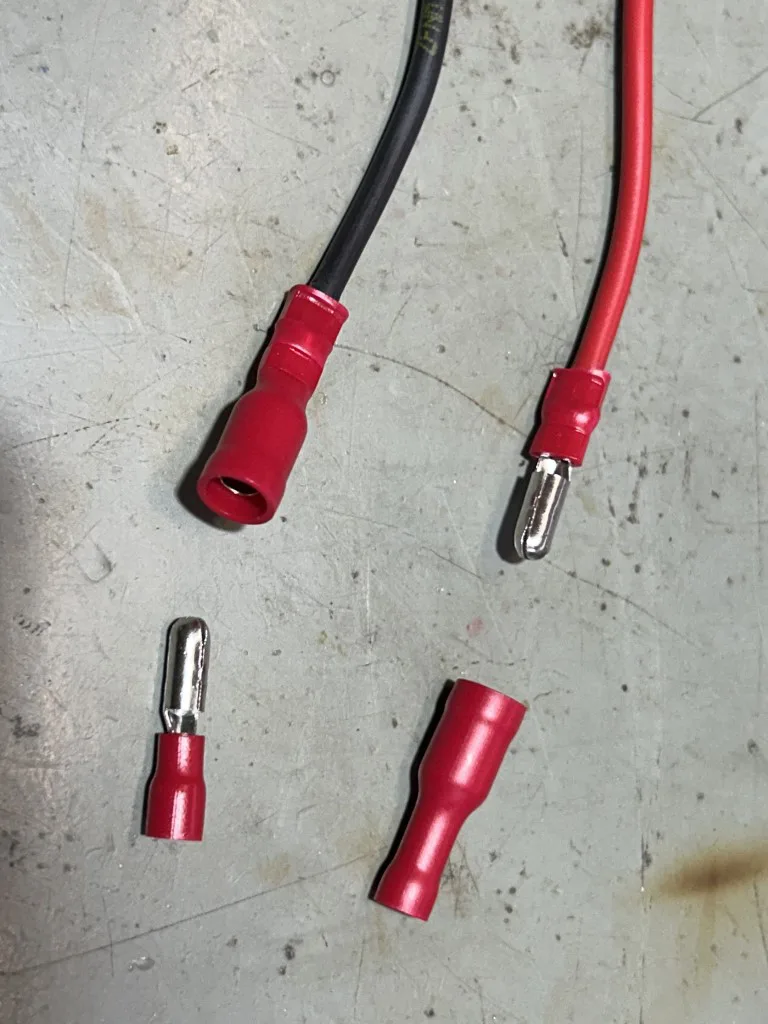
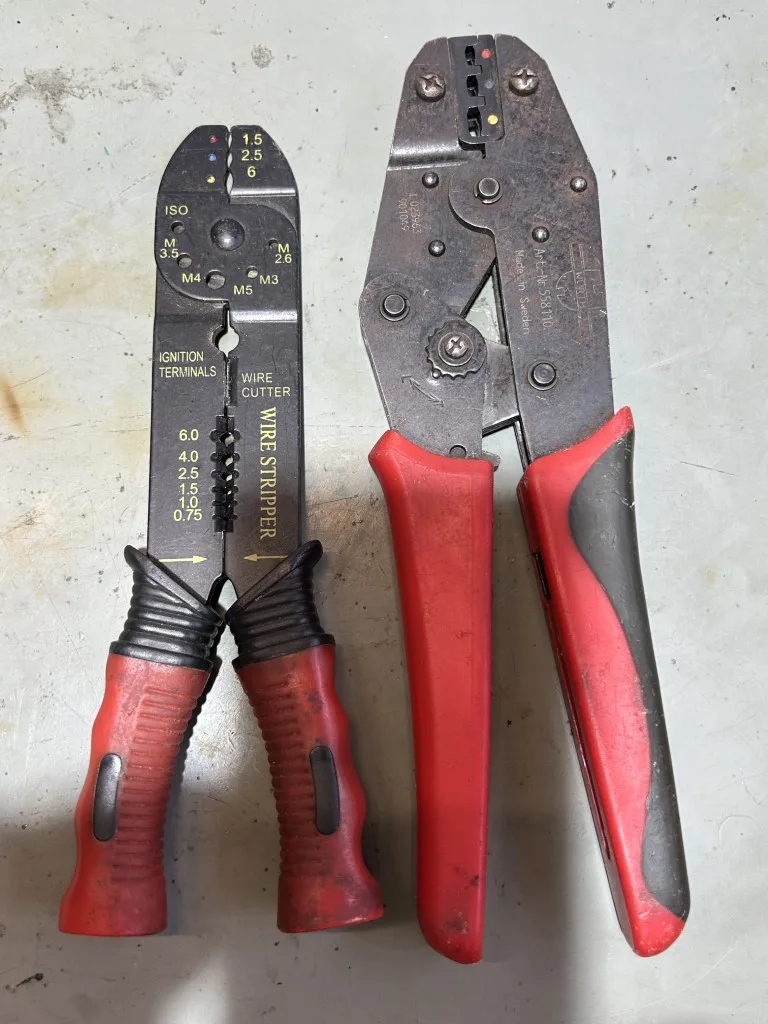
Standard crimping pliers can be used to crimp the supply and ground cables. Use a wire gauge of at least 1.5mm² for short distances (under 1.5 meters). For longer distances, we recommend using a 2.5mm² gauge.
*For positive-grounded vehicles, please follow the separate instructions provided, or send us a message, we’ll be happy to help you out!
Speakers
Depending on the configuration, up to four speaker outputs are available via 2-pin DIN connectors. We always include the matching screw-type mating connectors to make wiring your speakers easy. Be sure to check the polarity: the wide pin is negative, and the narrow pin is positive. Swapping polarity can severely degrade audio quality. Depending on your configuration, one of two connector types is supplied. For Type 1 connectors, simply unscrew the cap to access the wire retaining screws.
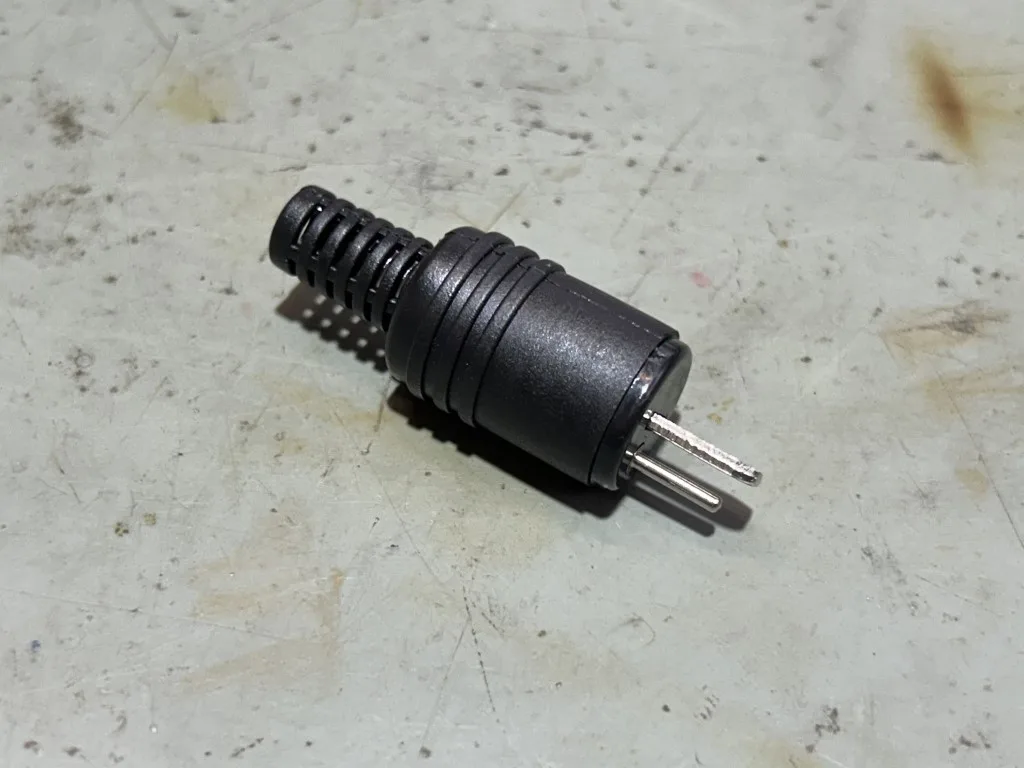
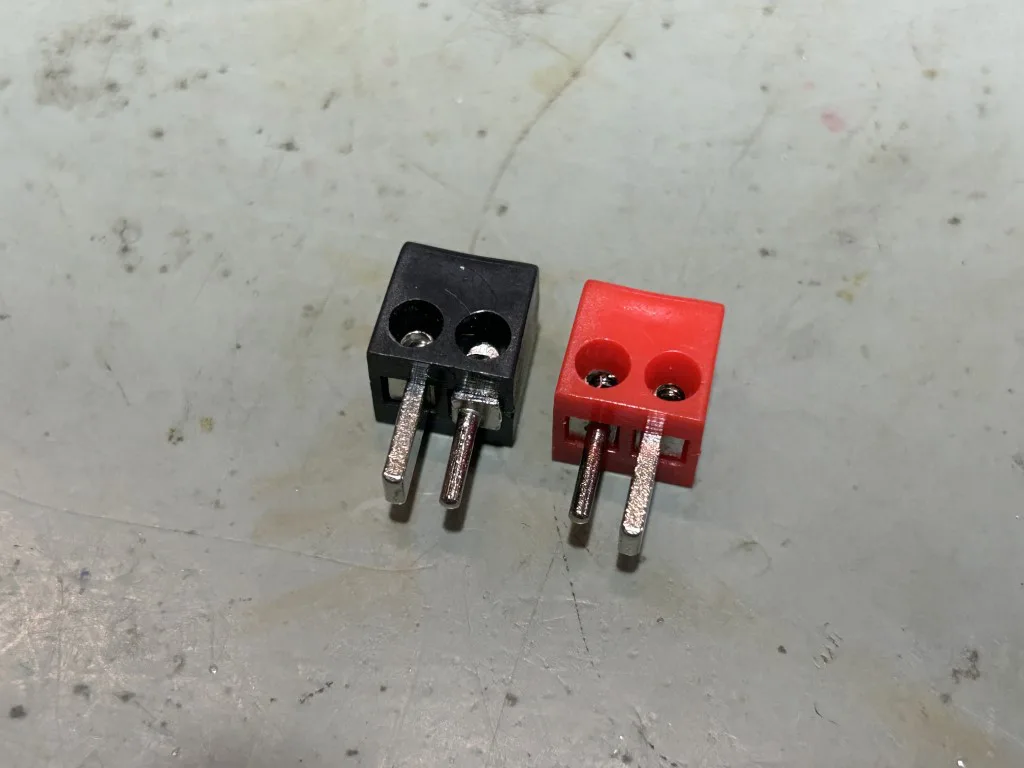
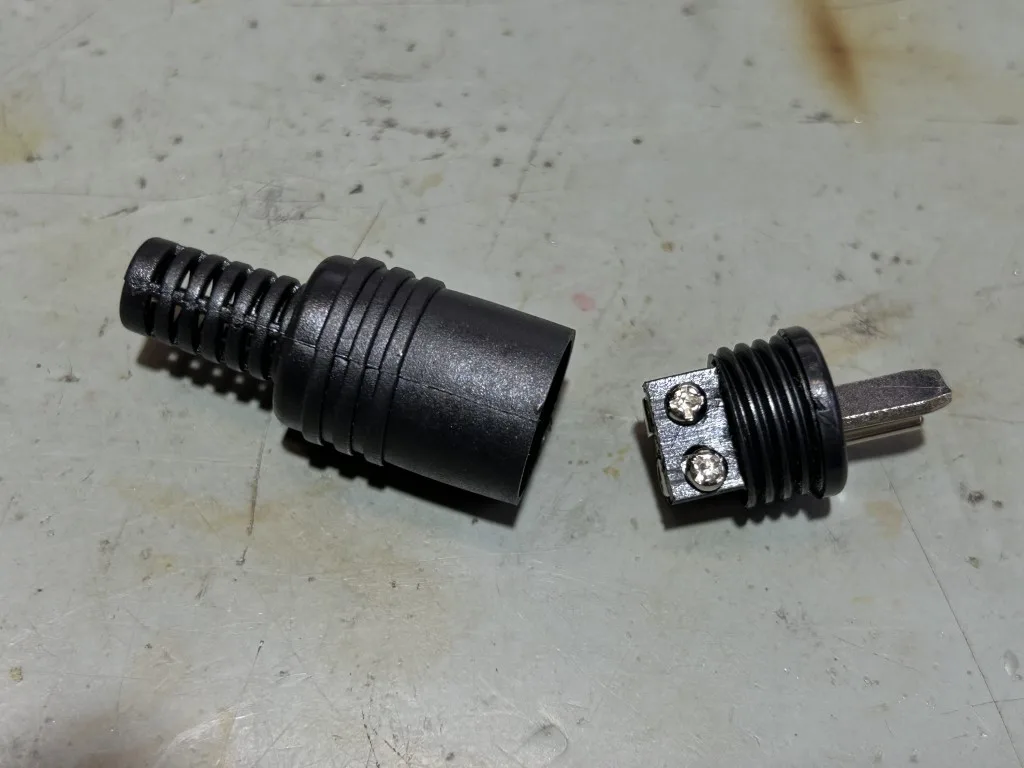
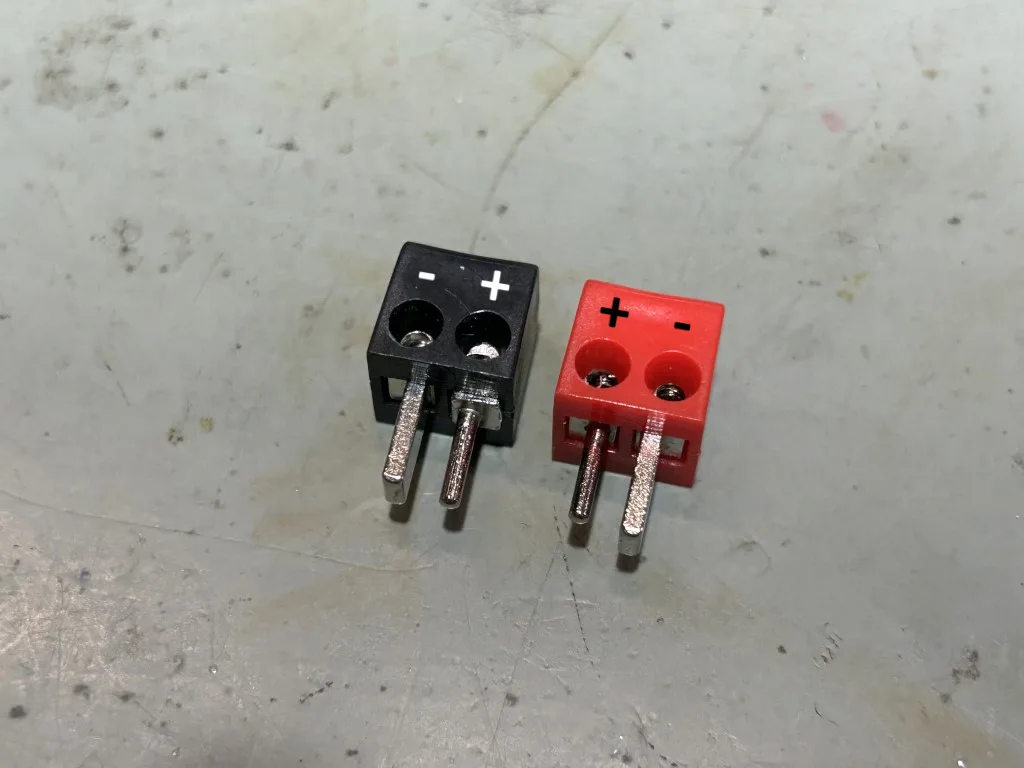
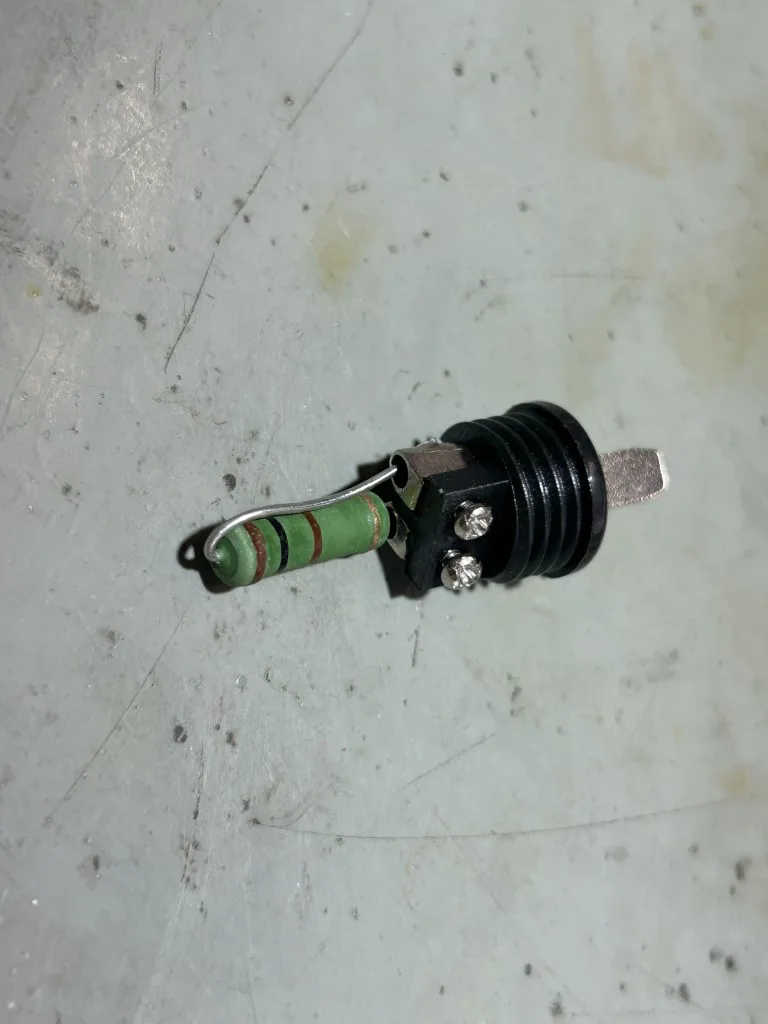
If you indicated that one or more outputs wouldn’t be used during the initial installation, we may have installed a terminating resistor. When you’re ready to use an additional output, simply remove the resistor and connect your speaker cable.
FM Antenna
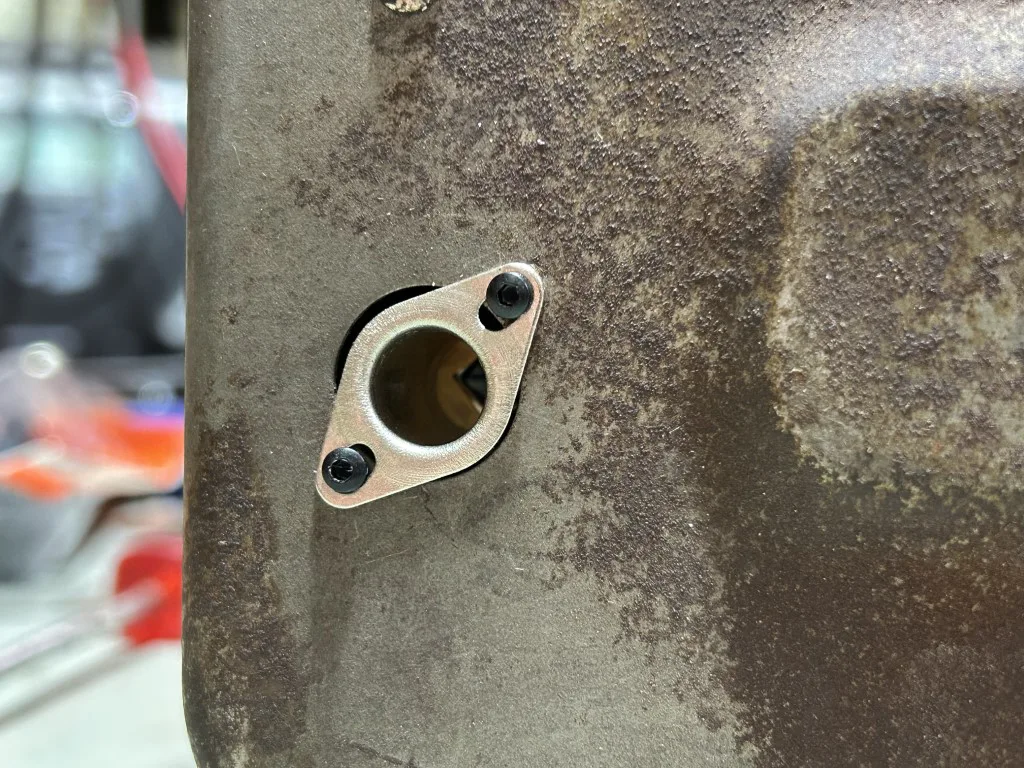
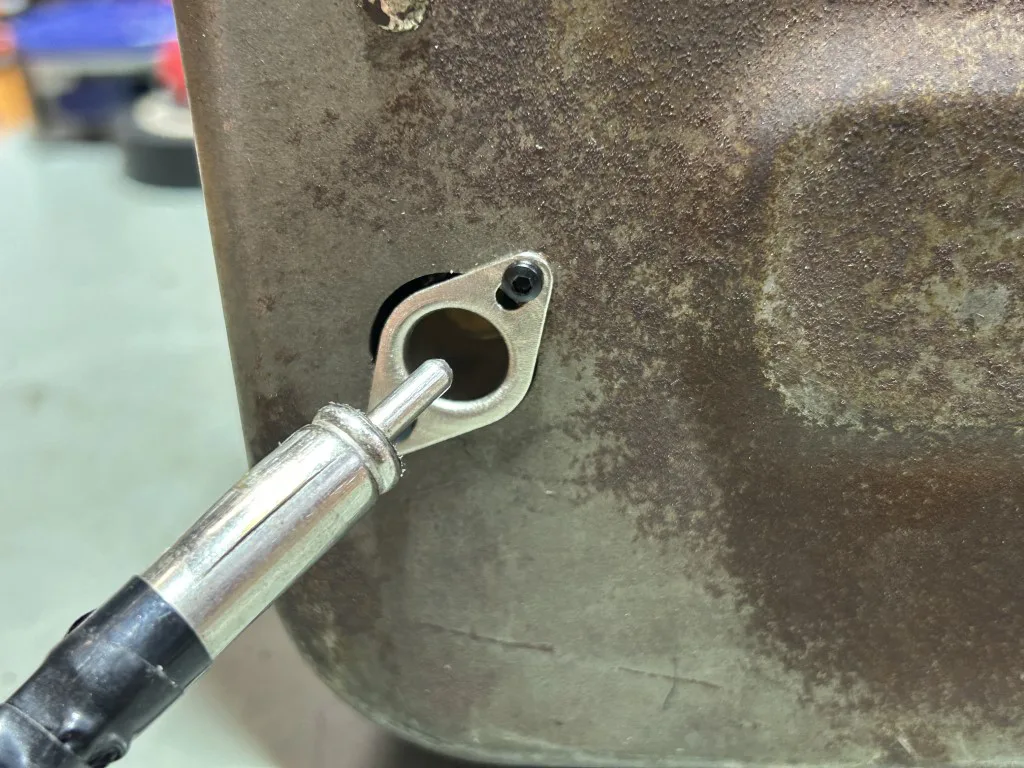
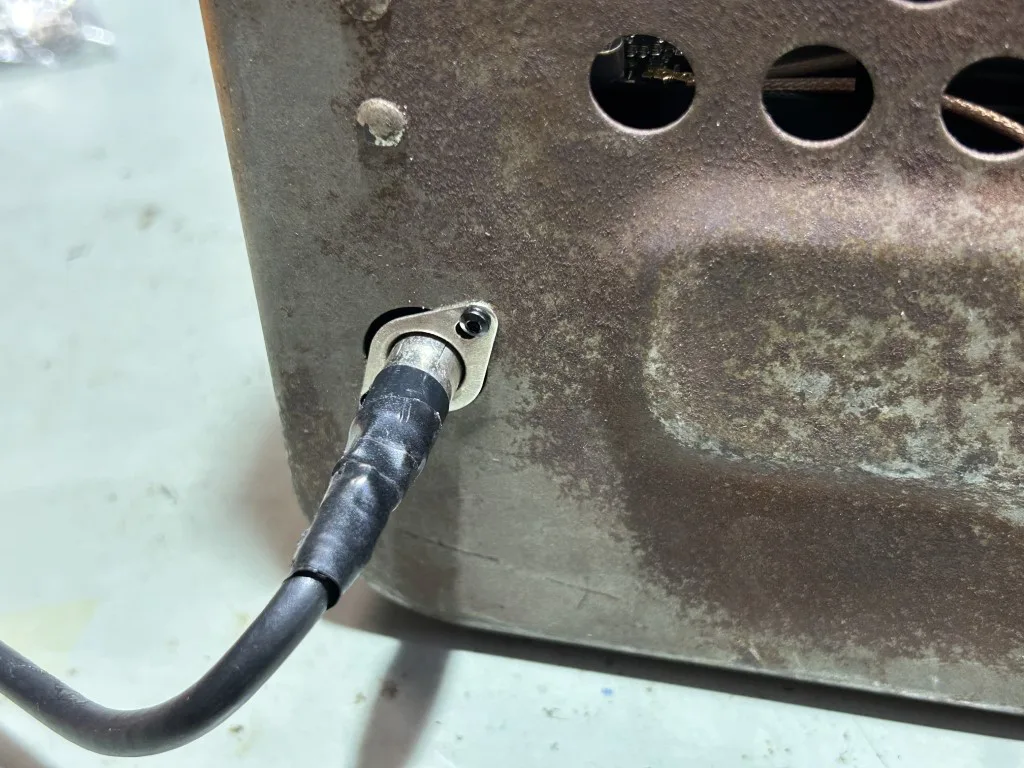
The radio features either an integrated antenna socket or an antenna socket on a short lead of coaxial cable. Note: If your radio has been upgraded to Bluetooth-only, the original socket may no longer be present as it is no longer required.
Bluetooth Antenna
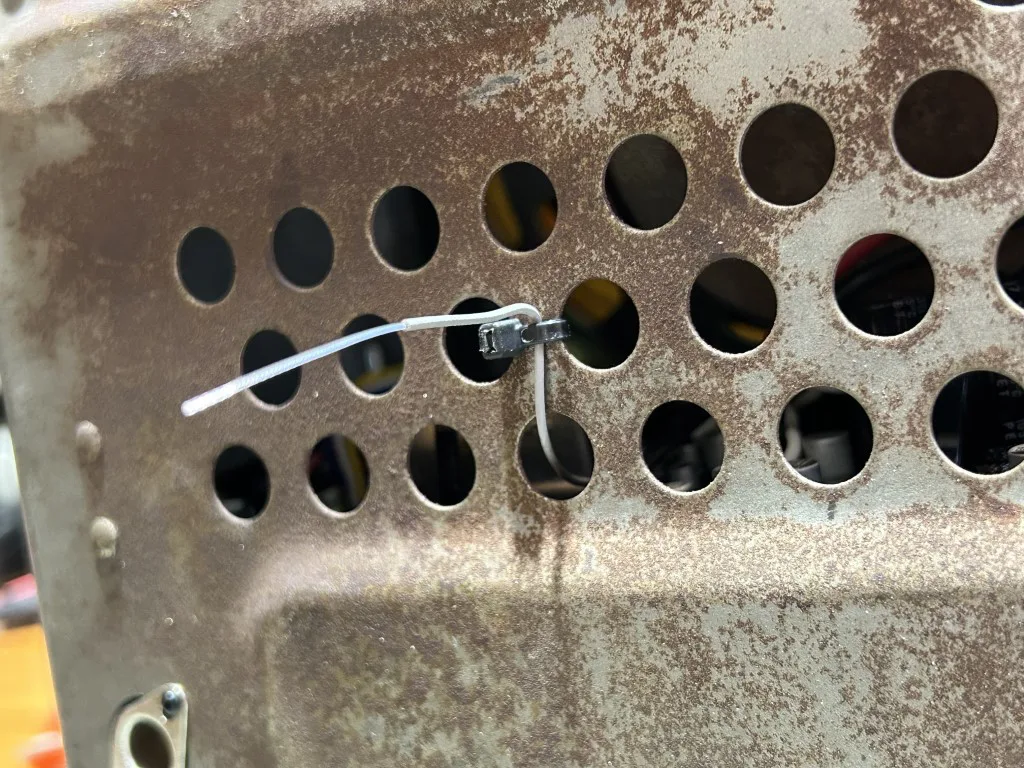
You may notice a small wire extending from the back of the device, this is the Bluetooth antenna and should be left as it is. It requires no external connection and serves solely to ensure a stable wireless connection with your phone or audio device.
Automatic Antenna and other Outputs
Depending on your configuration, the radio may include additional outputs—for example, for an automatic antenna. Each output is labeled according to its function. Please contact us if you are unsure how to connect these outputs.
Programming port
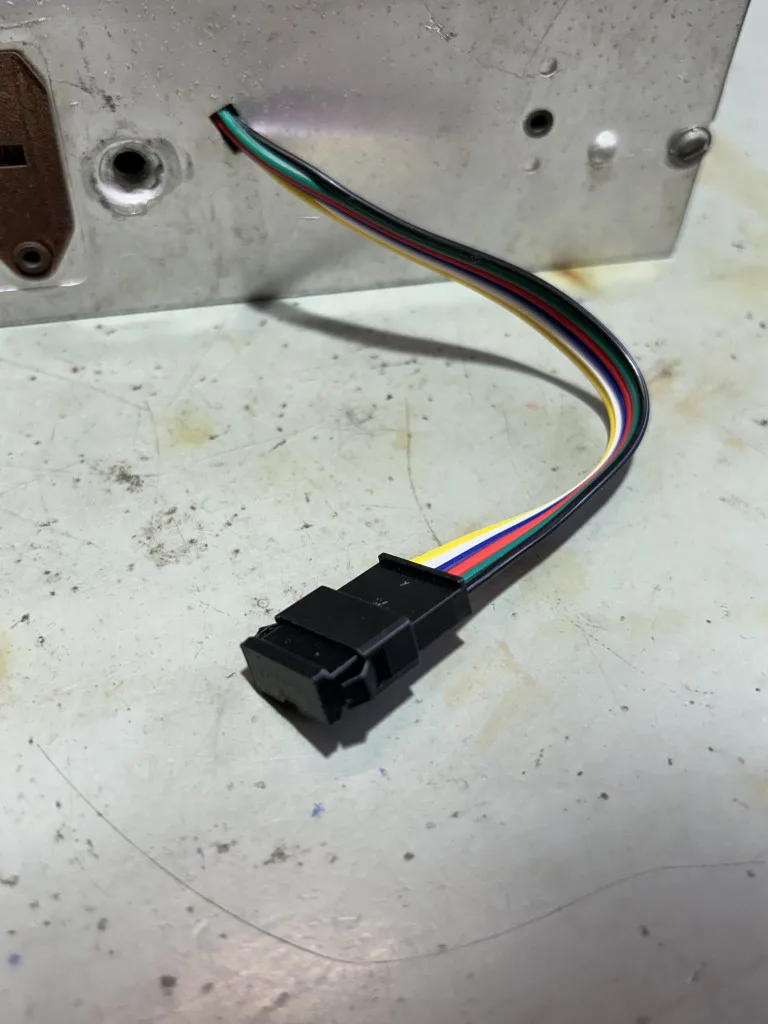
On the back of the radio, a 6-pin cable may be visible, this is for reprogramming your radio and should be left unconnected.
Usage
Switching between sources
Depending on your configuration, source switching is either handled via the pre-programmed buttons on the device itself or occurs automatically when you connect your phone via Bluetooth. In the latter case, disconnecting your phone automatically switches the unit back to FM mode.
Seeking stations
Station seeking is done using the tuning knob. Be sure to turn it slowly, as the radio features a highly sensitive digital tuner. The scale position must be aligned perfectly to receive a station. Weak signals are muted by the digital tuner, if you hear no audio, you are simply off-frequency. If the audio drops out, the tuner is on the edge of the frequency setting, turn the knob ever so slightly to the left or right to fine-tune the signal.
Tone buttons and potentiometers
Depending on your configuration, the radio may feature several tone buttons or control knobs. These allow you to adjust parameters such as bass, treble, balance, fader, and loudness to tailor the sound to your preference.
Troubleshooting
If you have any questions during the installation or use of your upgraded device, please don’t hesitate to contact us—we’re always happy to help. You can find our details on the contact page.
 EN
EN  NL
NL